
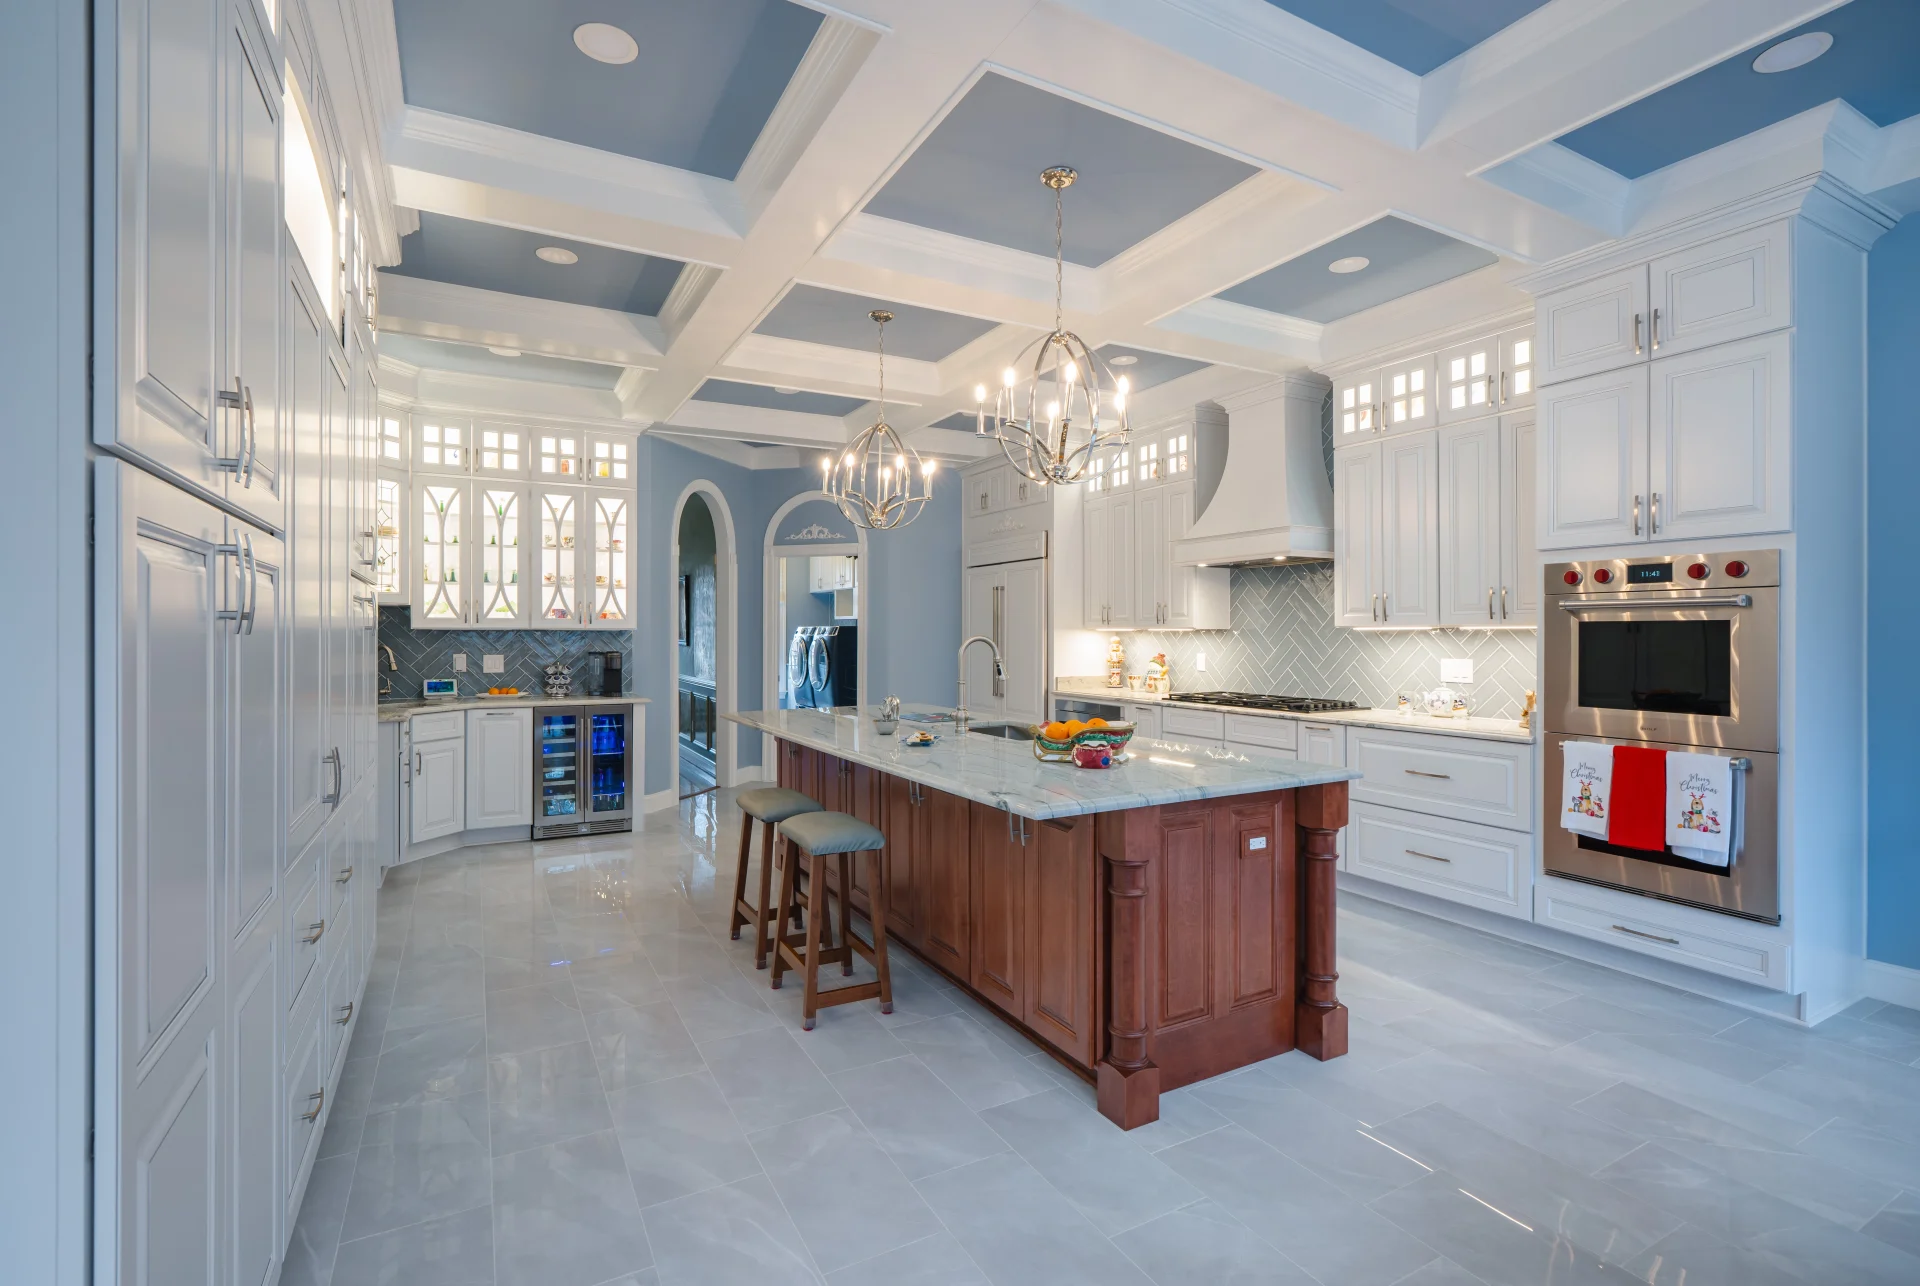
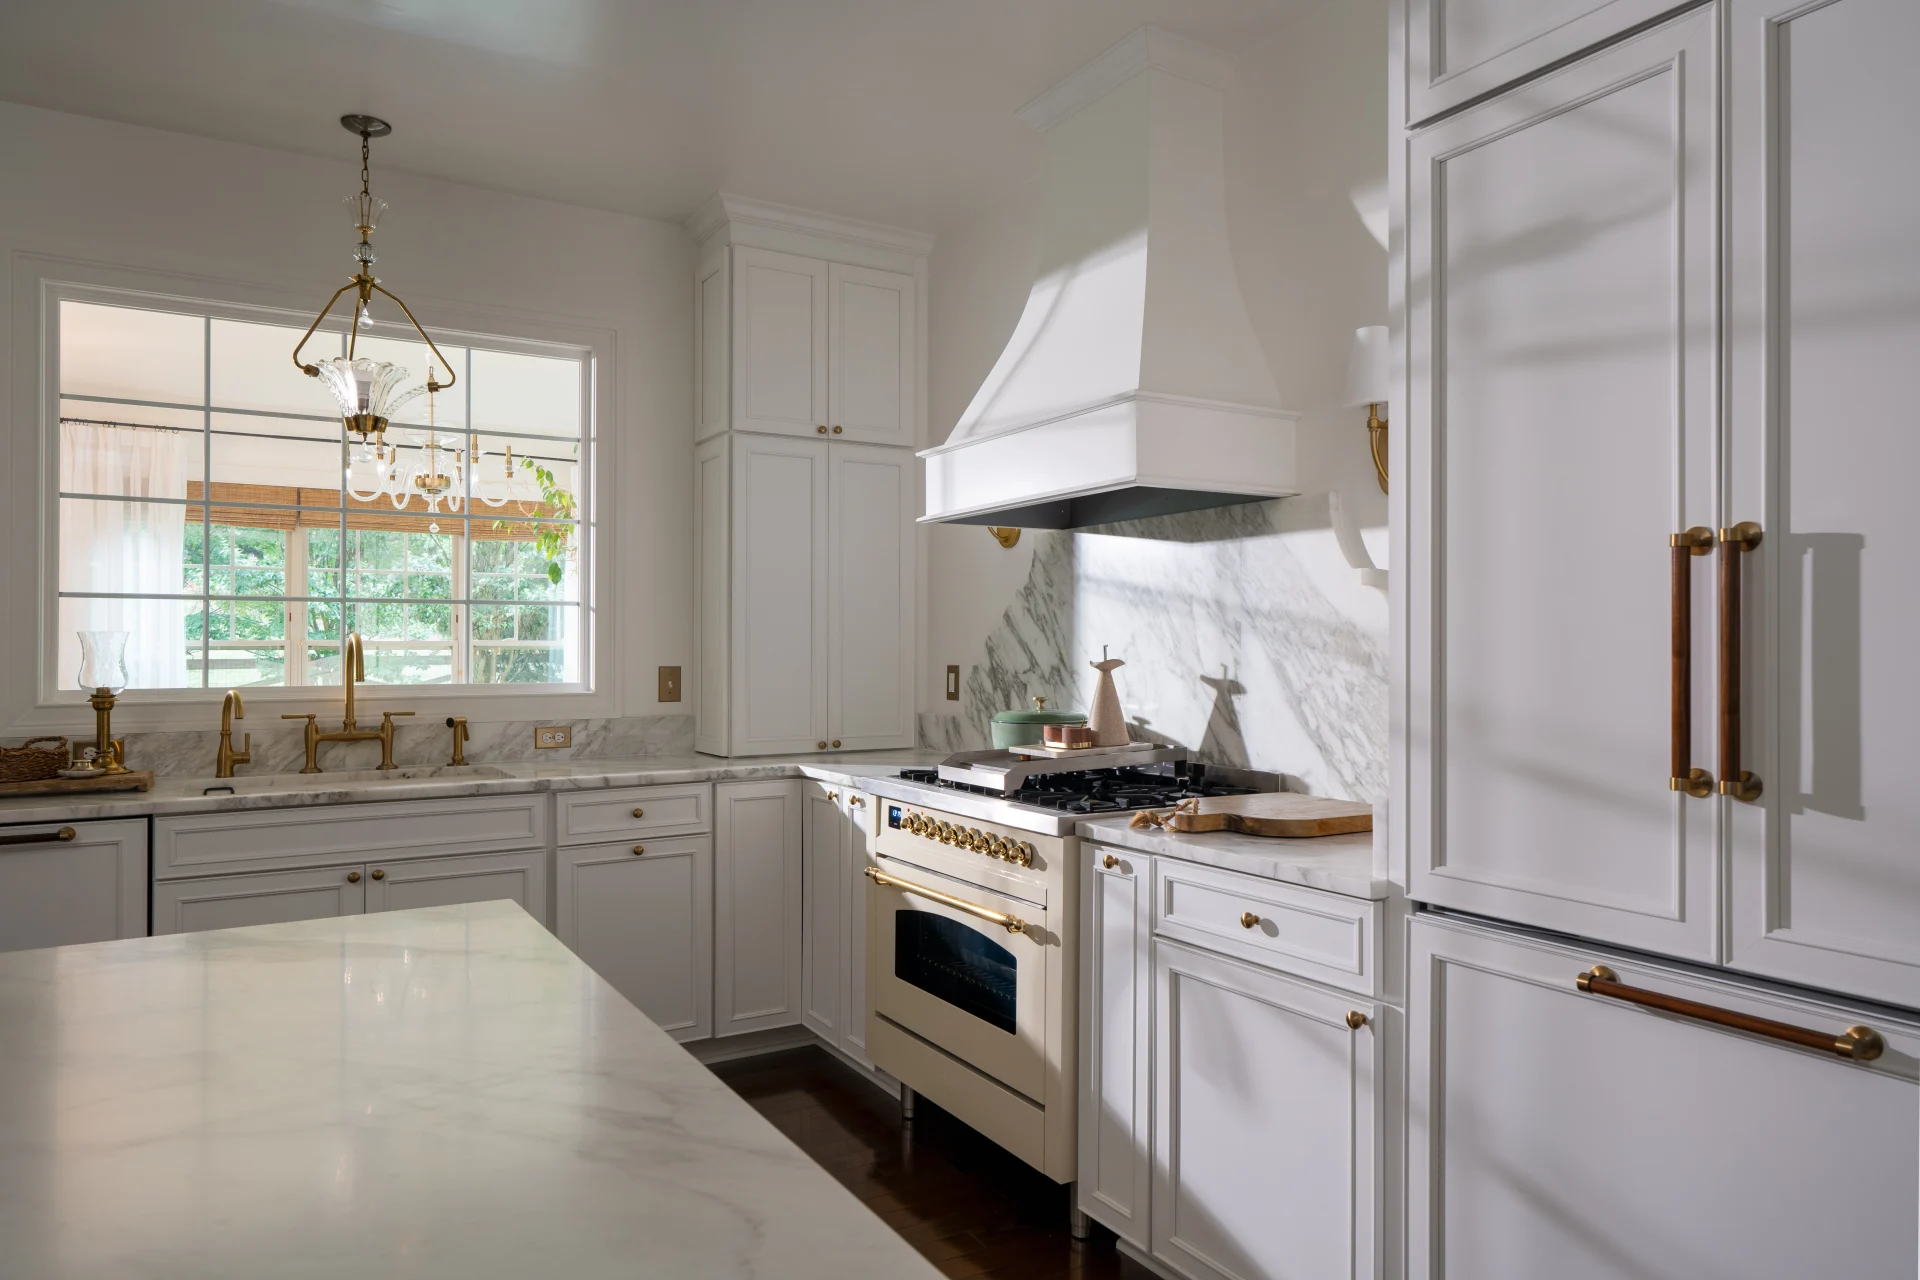
Kitchen Backsplash
Elegant Kitchen and Bath offers
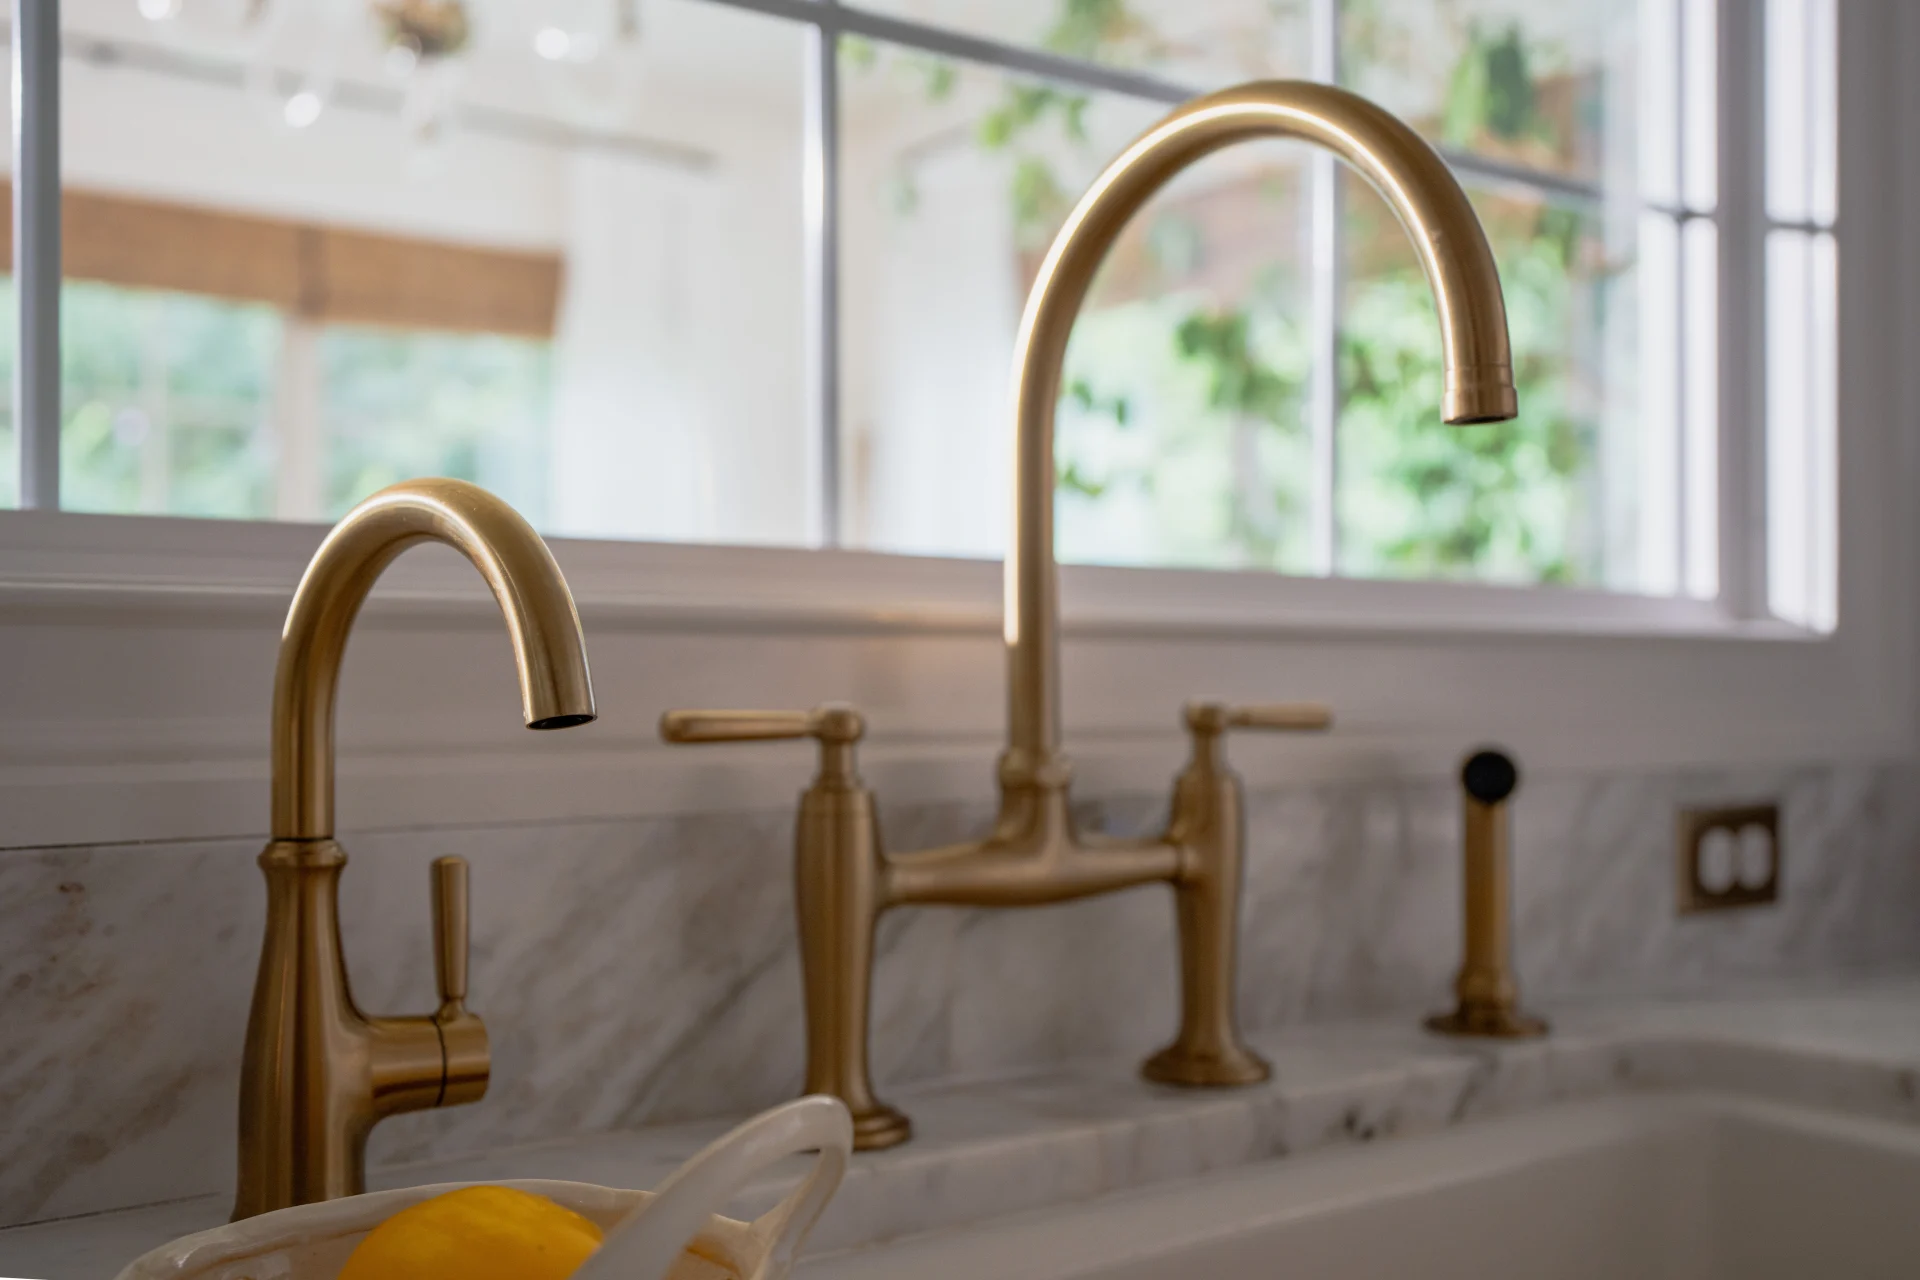
kitchen remodeling,
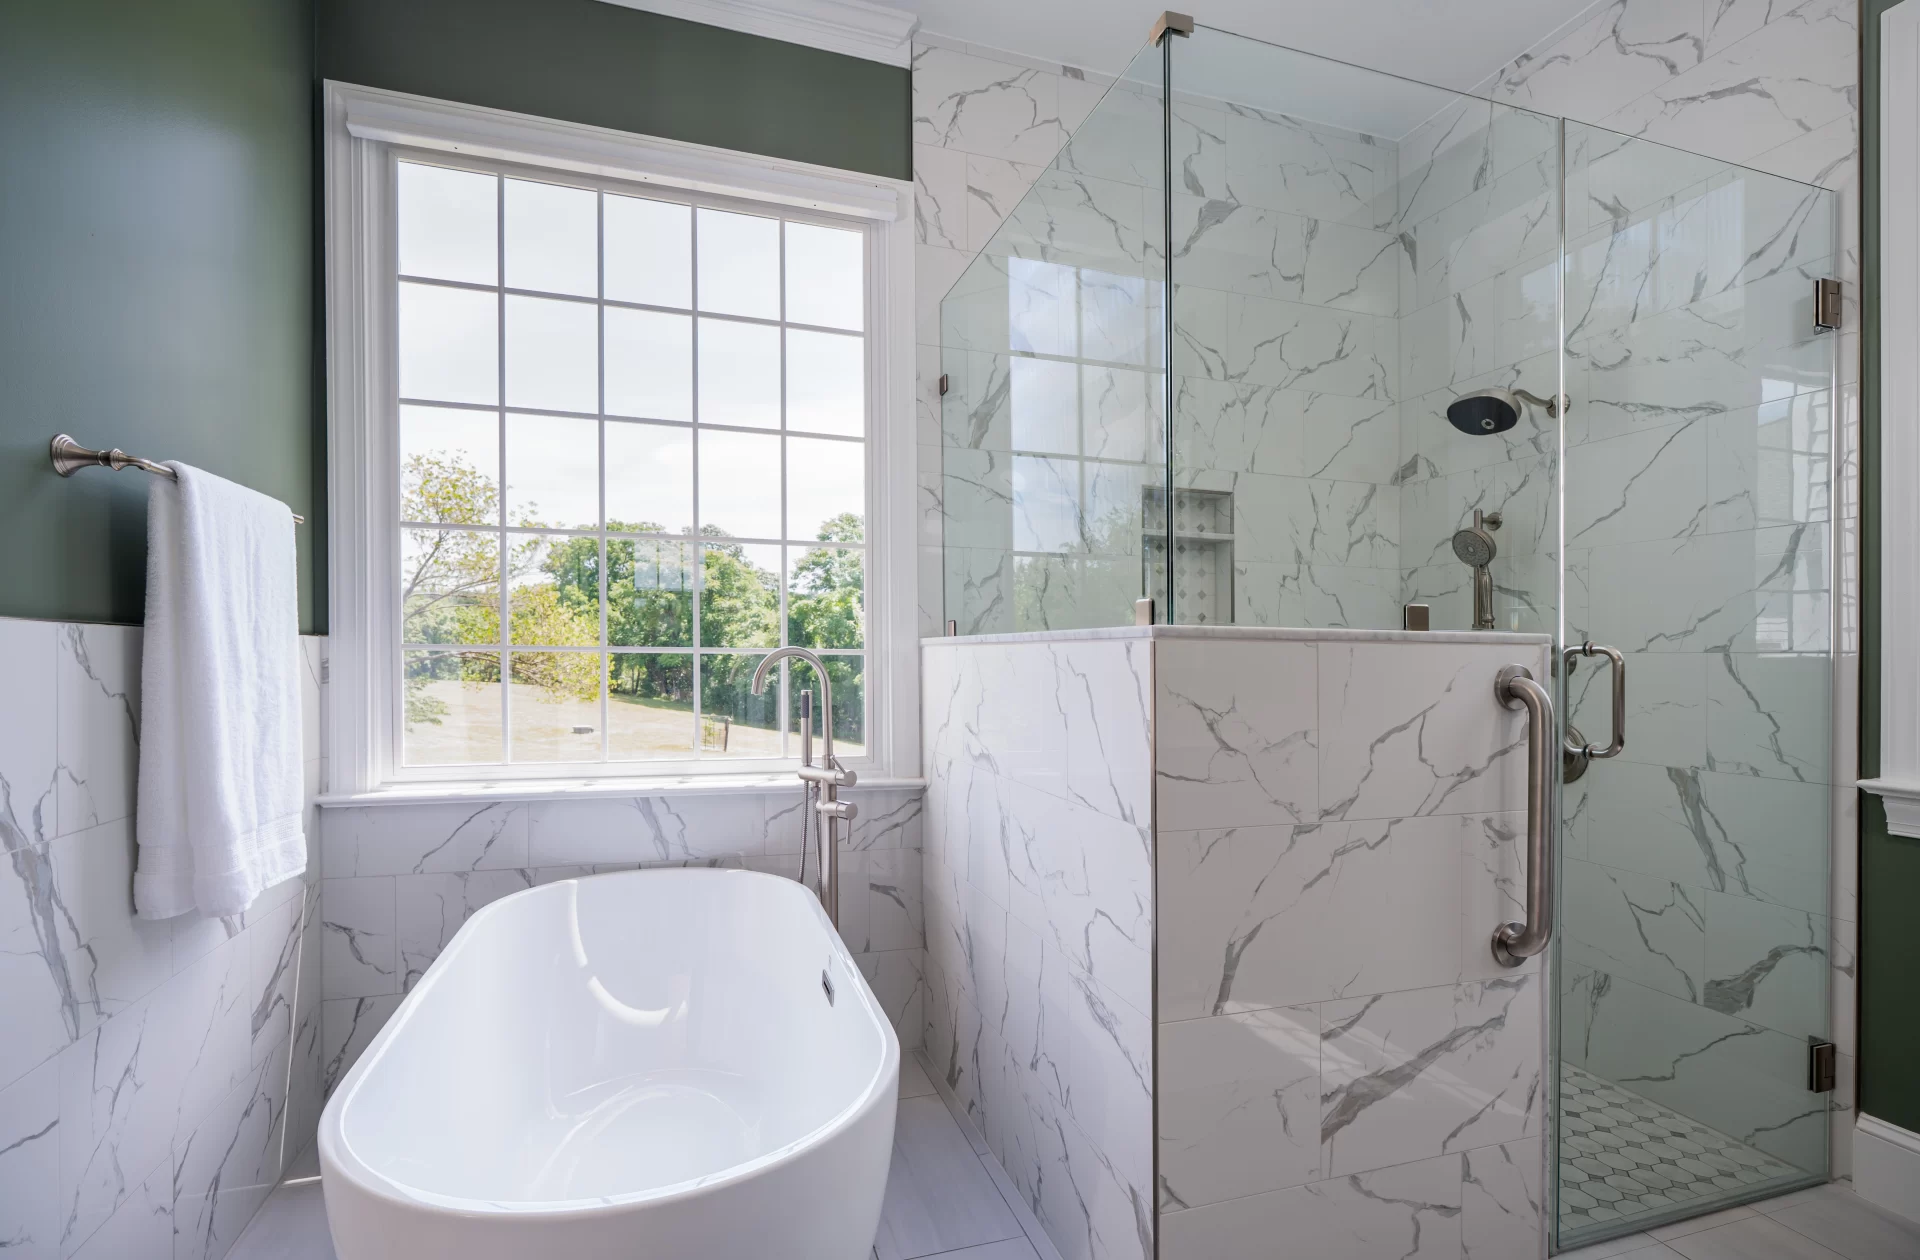
bathroom remodeling,
basement remodeling,
home addition
services across a broad area, including
Herndon,
Chantilly,
Centreville,
Reston,
Sterling,
Great Falls,
Ashburn,
Fairfax,
McLean,
Manassas,
Haymarket,
Burke,
Vienna,
Falls Church,
Annandale,
Springfield,
Alexandria, and
Arlington.
Ready to transform your home? Visit
Elegant Kitchen and Bath
to start your journey toward your dream home today!


